Microform User Guide
| ILS-575
Instructional design |
©2004-2007
Amy Ranger |
| Documentation: design instruction |
Main index |
| Introduction |
Instructions |
Equipment specifications |
| Nomenclature |
Objectives |
Load film/fiche |
| Locate article |
Focus |
Print |
| Unload film/fiche |
Notable microforms |
End notes |
|
Kalamazoo
College Library Microform User Guide |
| Have you ever
used a
microform reader before? (If yes, please advance to Page 39, which covers the details of the Canon MS-400 model) |
Yes |
No |
| Have you ever
handled microfilm but not microfiche? (If yes, please advance to Page 46: Microfiche) |
Yes |
No |
| Have you ever
handled microfiche but not microfilm? (If yes, please advance to Page 40: Microfilm) |
Yes |
No |
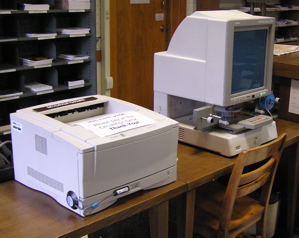
| Canon
Microfilm Scanner 400 Reads fiche or film Positive or negative emulsions 90˚ image rotation 400x400 dpi resolution Scanning speed 8 sec./frame Options to mask, trim and zoom |
Canon Fileprint 400 Multiprint up to 99 prints High-quality laser output Copies 10¢ each |
 |
 |
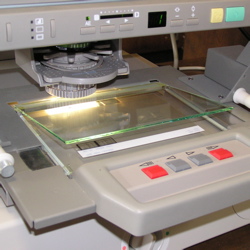
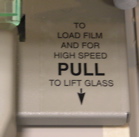
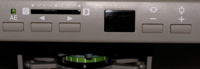
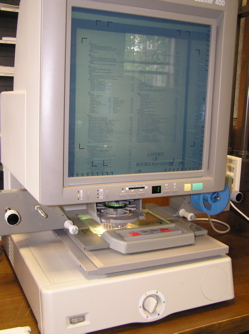
| Use the
tall alignment marks at each corner of the screen when printing |
|
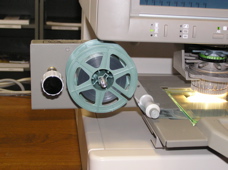
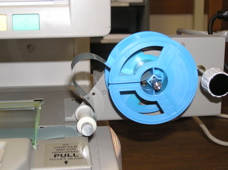
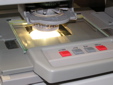
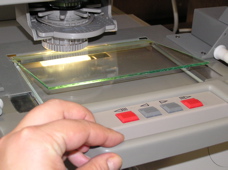
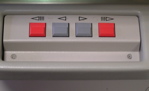
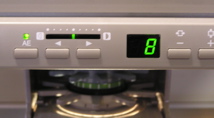
| Display screen, similar to a computer or TV monitor. Print buttom (green), at lower right corner of display screen. Handle for
microform carrier also includes film advance buttons (double arrows
indicate faster take-up and rewind).
[<<]
[<] [>] [>>]Power toggle switch located at lower left corner of base. |
 |